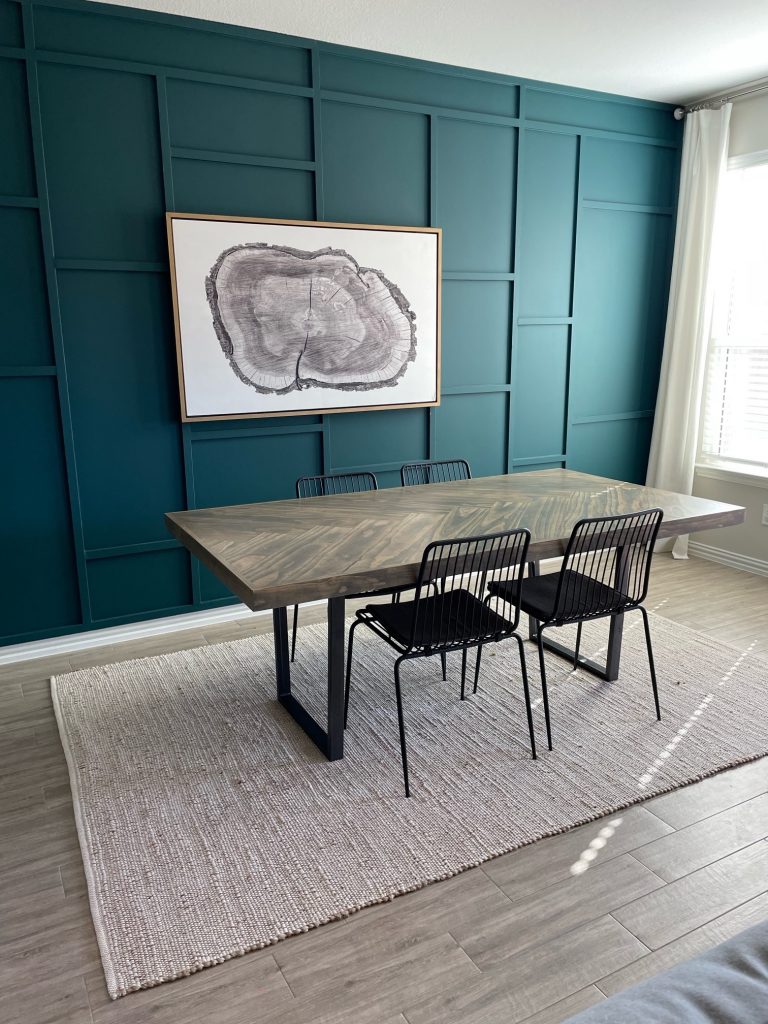
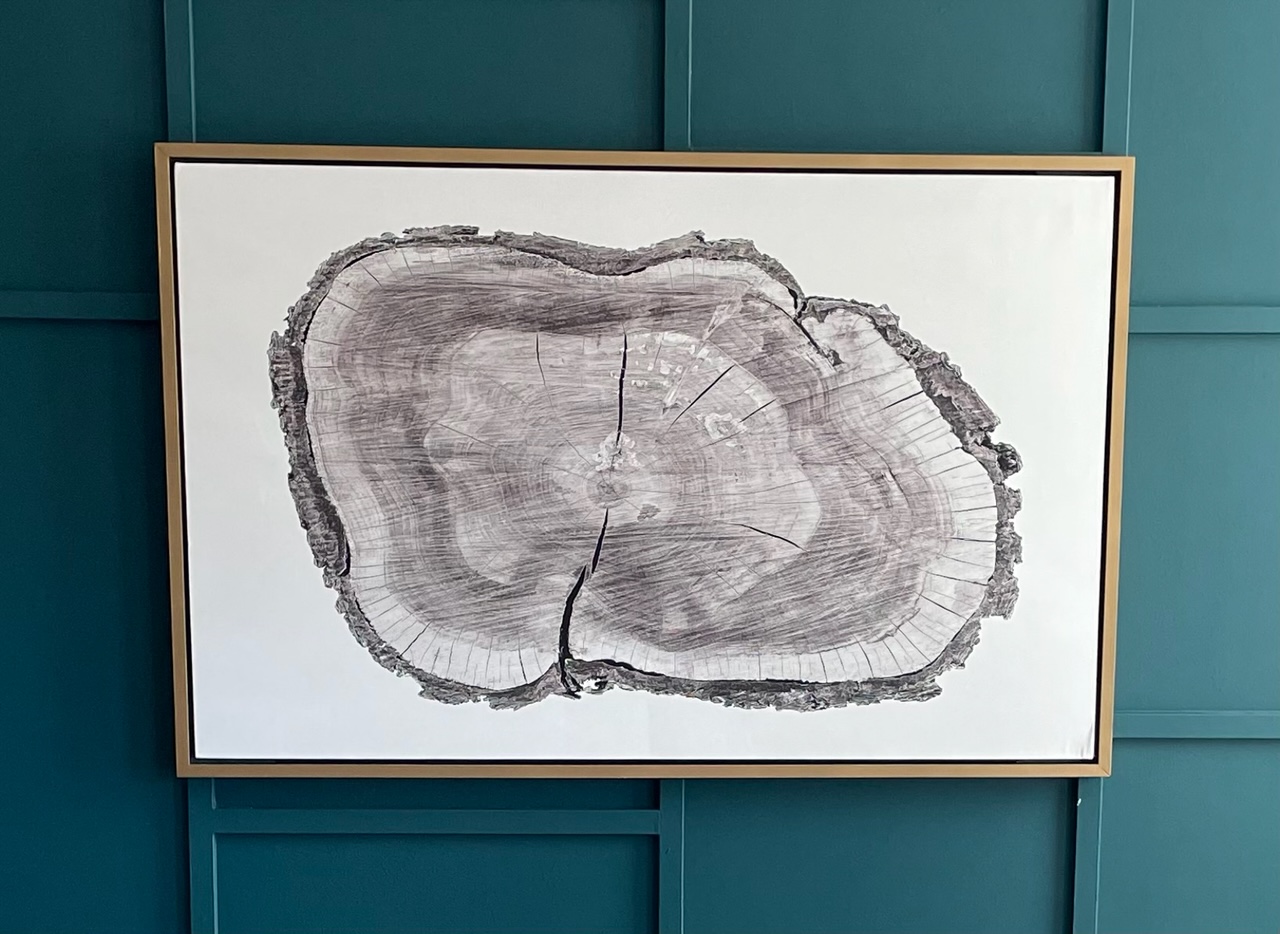
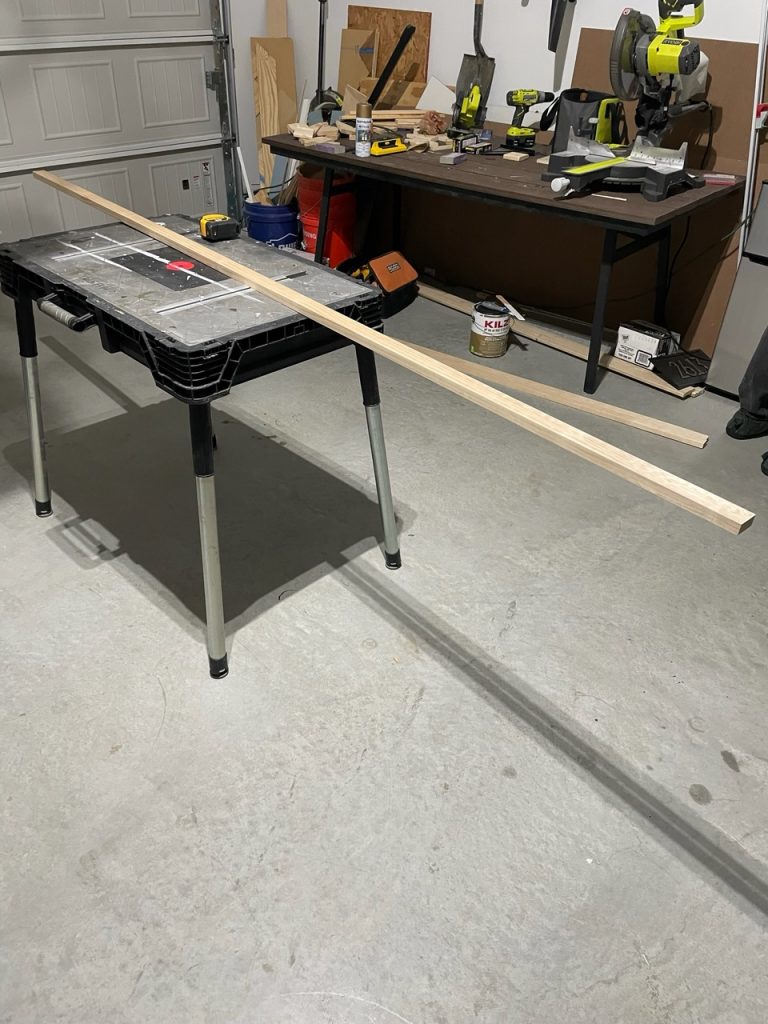
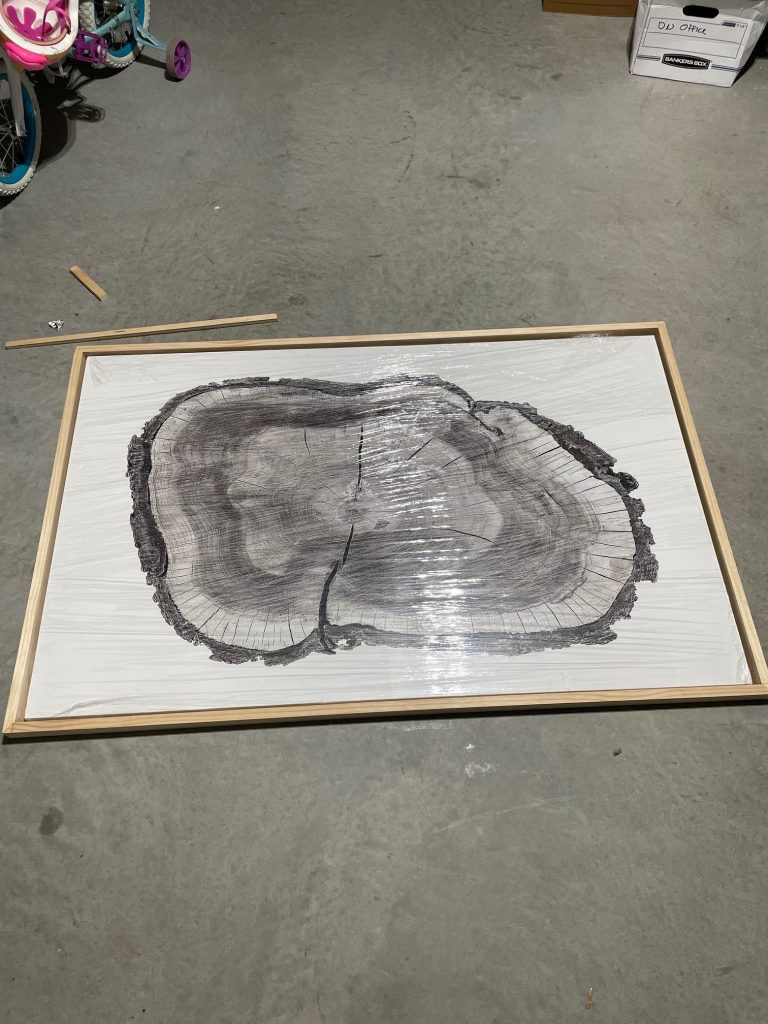
We recently DIY’d a custom piece of canvas art and I knew would cost an arm and a leg to get a custom floating frame being that the art was a large size at 55″x35″. Being the frugal DIYers that we are, we started looking at our options. After some google searching and planning we decided that we would be able to create our own frame to get the custom look that we wanted for under $60. We set off to Home Depot to buy three 1×2 8ft long pine boards which we then cut to size by mitering the edges to 45 degree angles, brad nailing the mitered edges together, and spray painting the frame to get the color that we wanted. I knew I wanted the frame to match our kitchen hardware so I opted for a gold paint that really makes the whole cavas pop. I am thrilled with the end result. See below for a step by step how to of how we were able to achieve the look.
Tools Needed:
Miter Saw, Nail Gun, Wood Glue, Framing Clamp
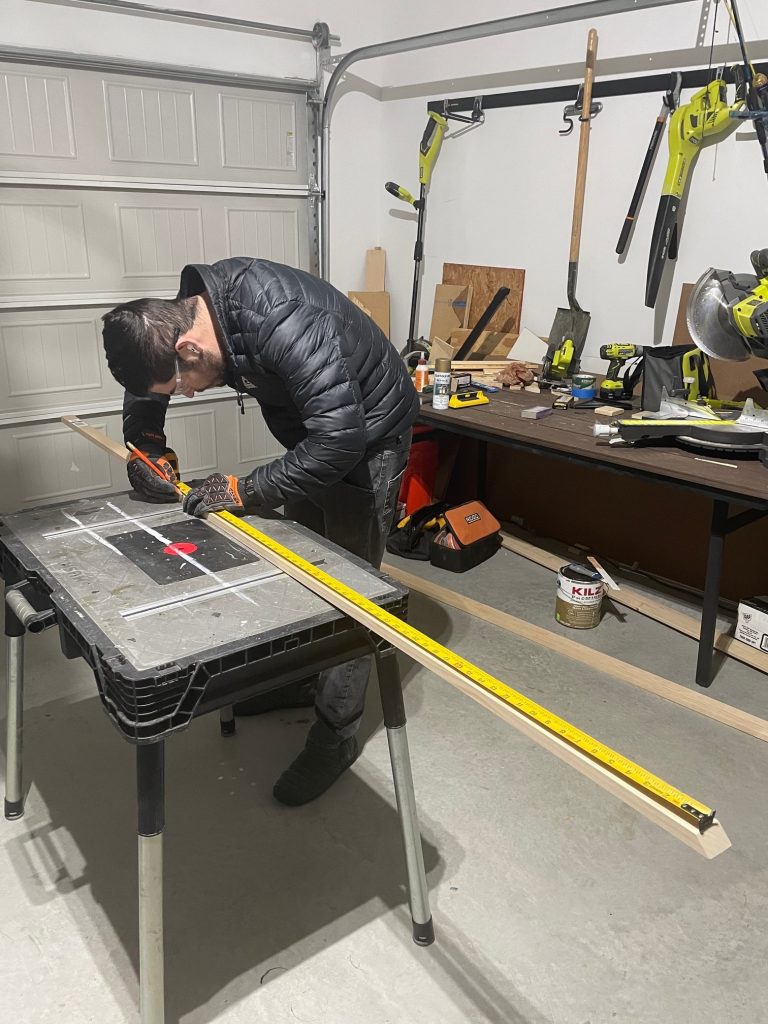
Step 1: Measure
Take Width and height measurements and add 1/2″ to those measurements which will yield a 1/4″ reveal all of the way around the canvas when finished.
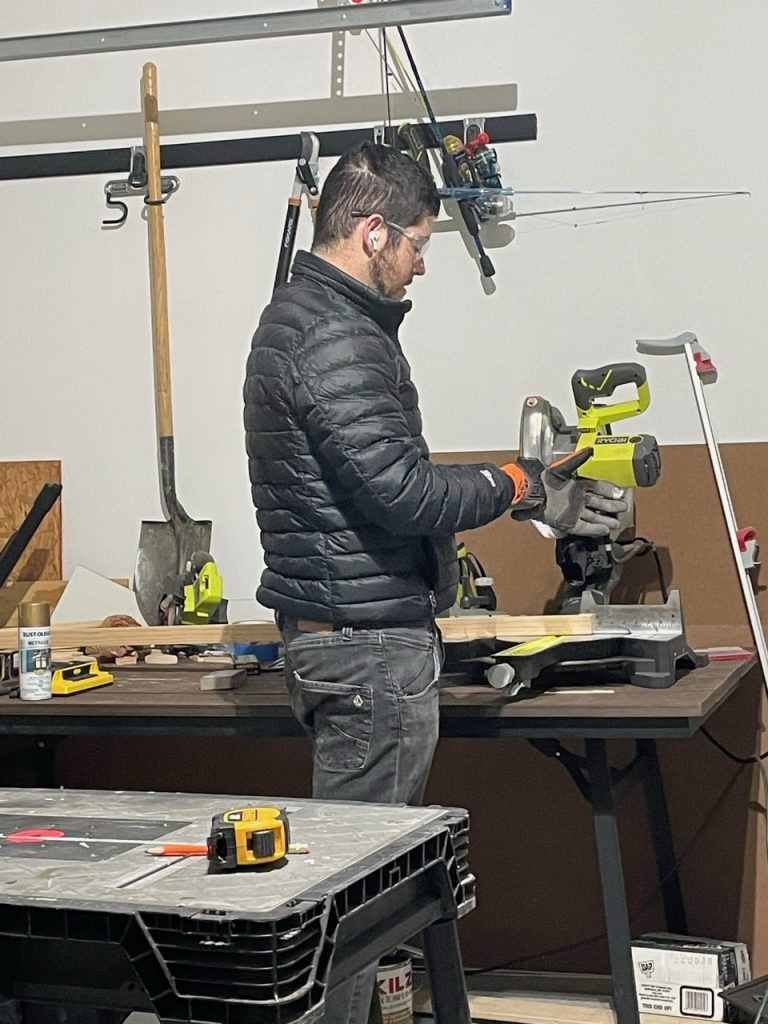
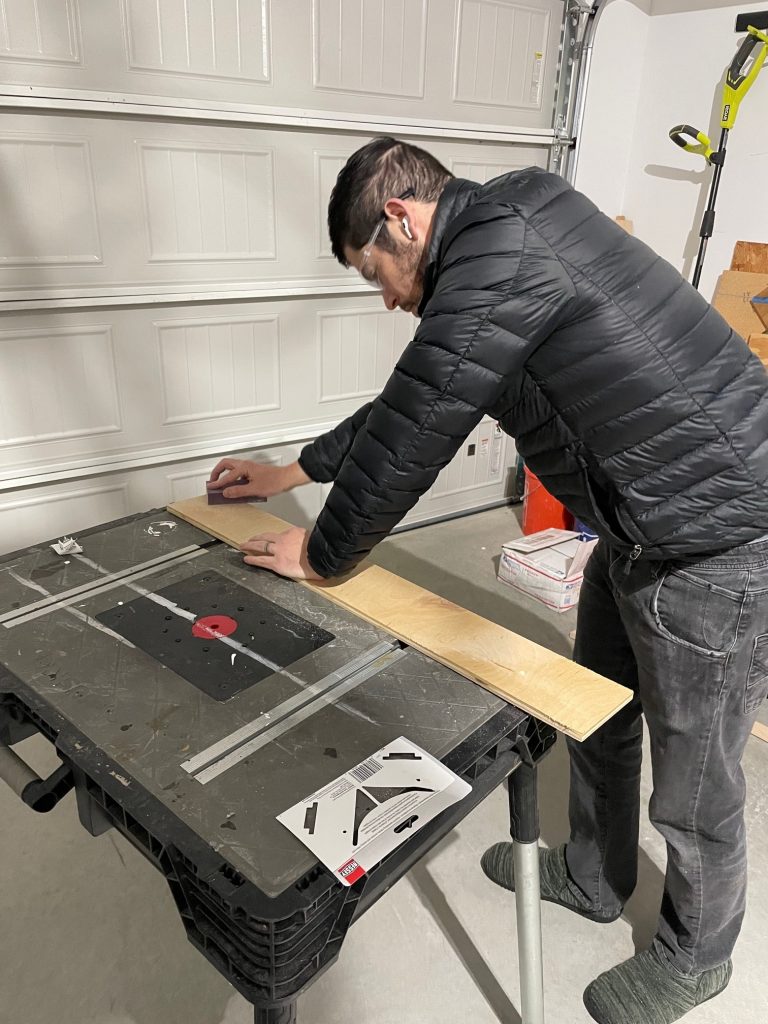
Step 2: Making Cuts
Cut a 45 degree angle on one end of the pine board set to your first measurement.
Then, hold the measuring tape at the inside edge of the miter cut and use your measurement from step one to get the placement of your second miter cut.
Step 3: Repeat
Repeat steps 1 & 2 for your other measurements.
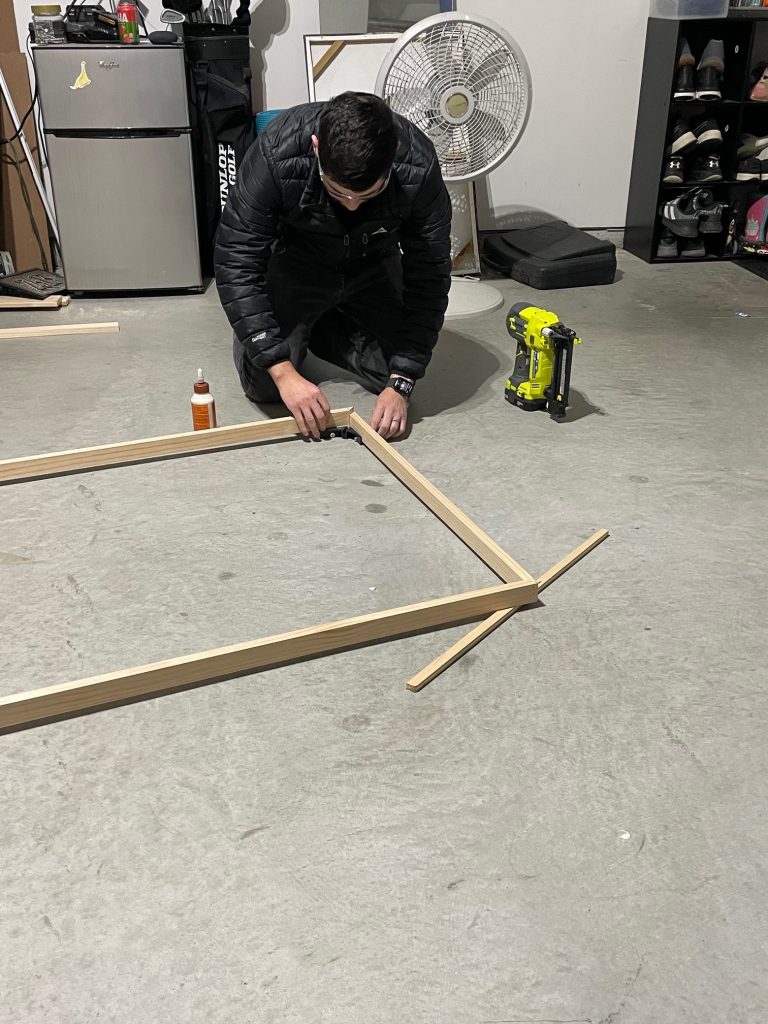
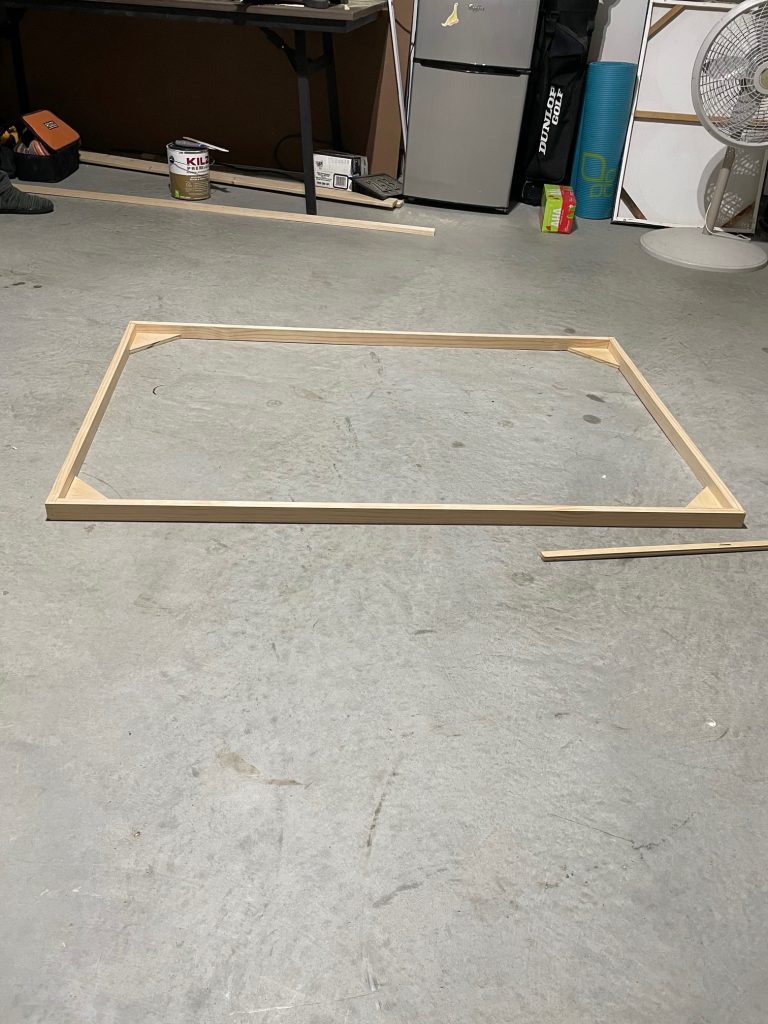
Step 4: Join Miter Cuts Together
Put a small squeeze of wood glue on your mitered edges and push the two mitered edges together. Then, using 1″ nails in your nail gun, nail the two pieces of wood together using two nails on each side of the mitered edge.
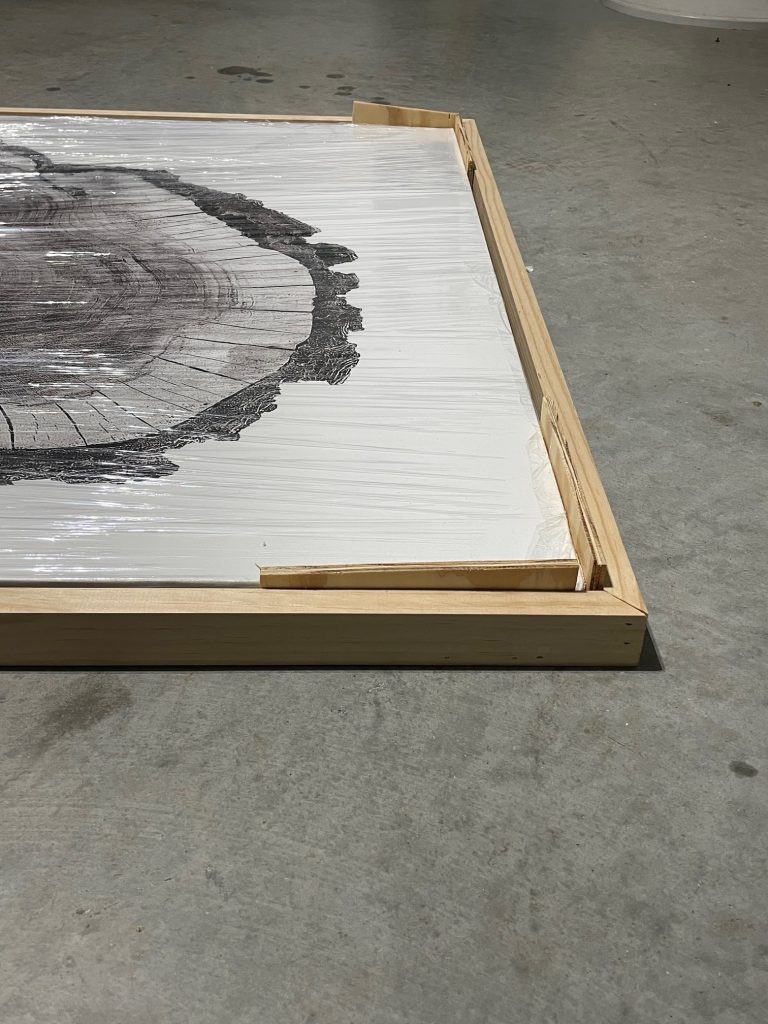
Step 5: Dry Fit Canvas
Next we did a dry fit of the canvas to ensure that the frame fit around it once all four sides of the floating frame had been brad nailed together.
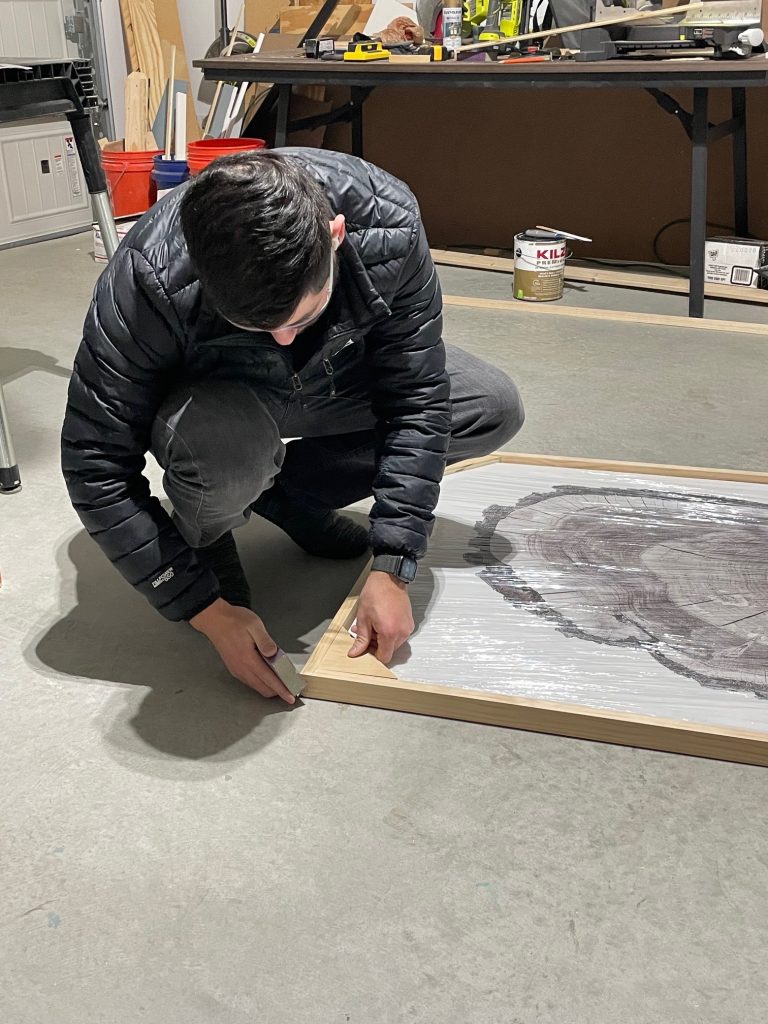
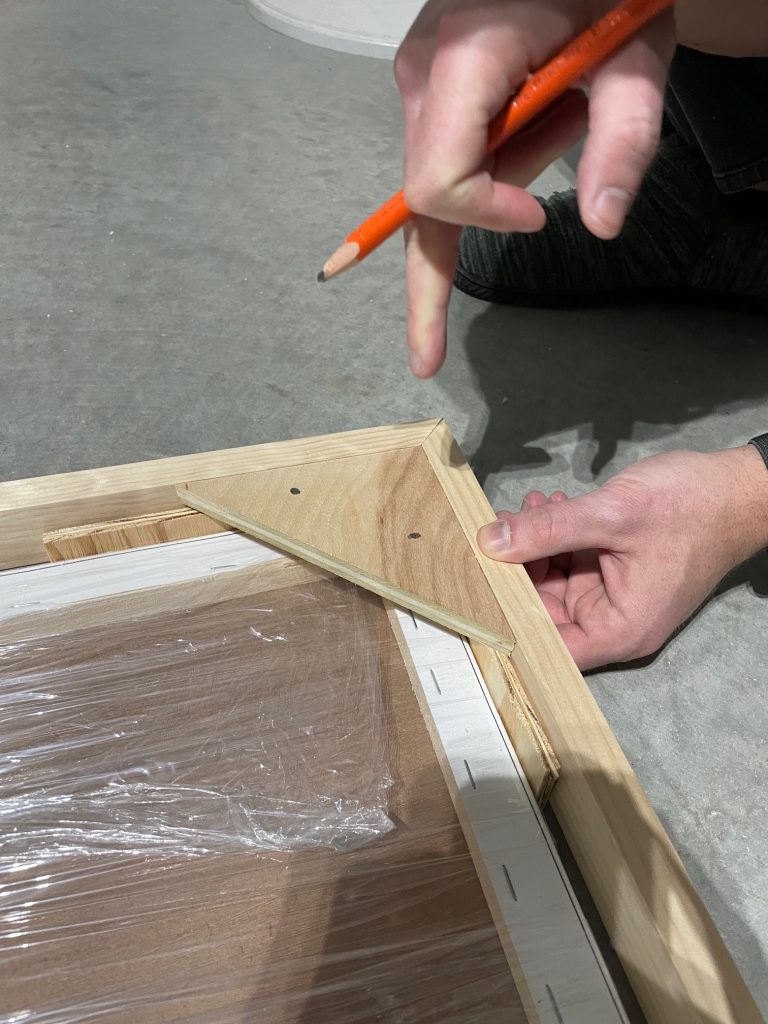
Step 6: Making Corner Supports
Then, using our miter saw, we cut some scrap 1/4″ plywood that we had on hand into small triangles that we adhered to each of the four corners using wood glue and brad nails to provide some additional support for the frame and to keep the art from falling through.
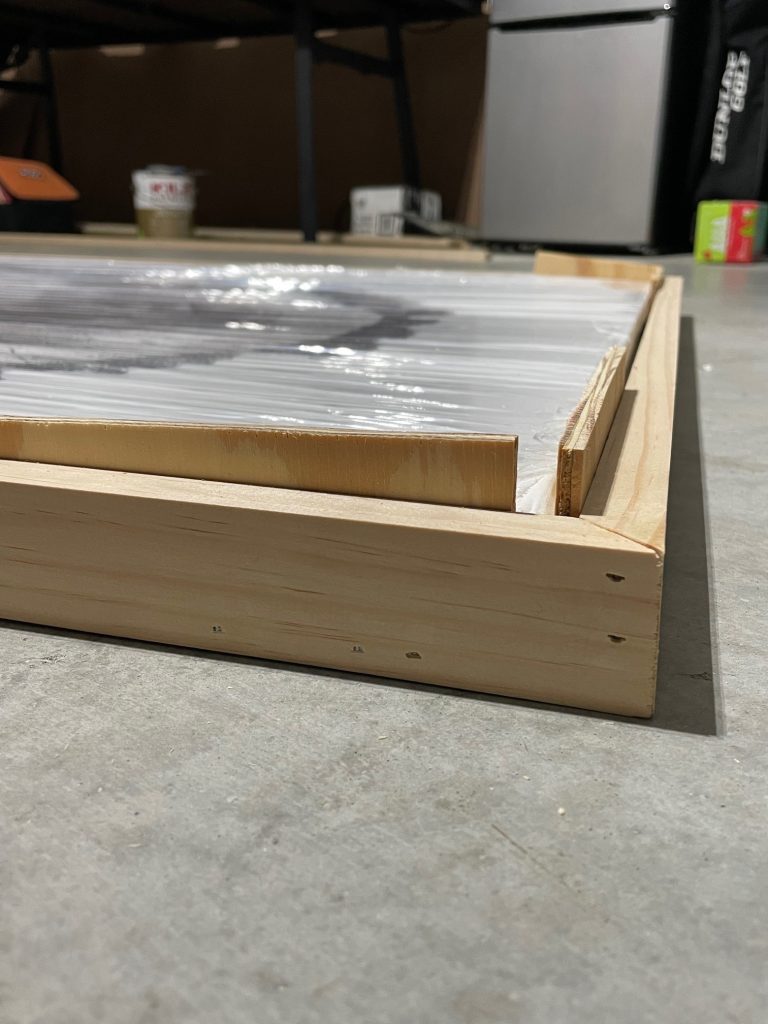
Step 7: Inserting Spacers
Once the triangle supports were secured to the frame, we did another dry fit of the canvas and used spacers we made from 1/4″ plywood to make sure there was a consistent gap all the way around the canvas.
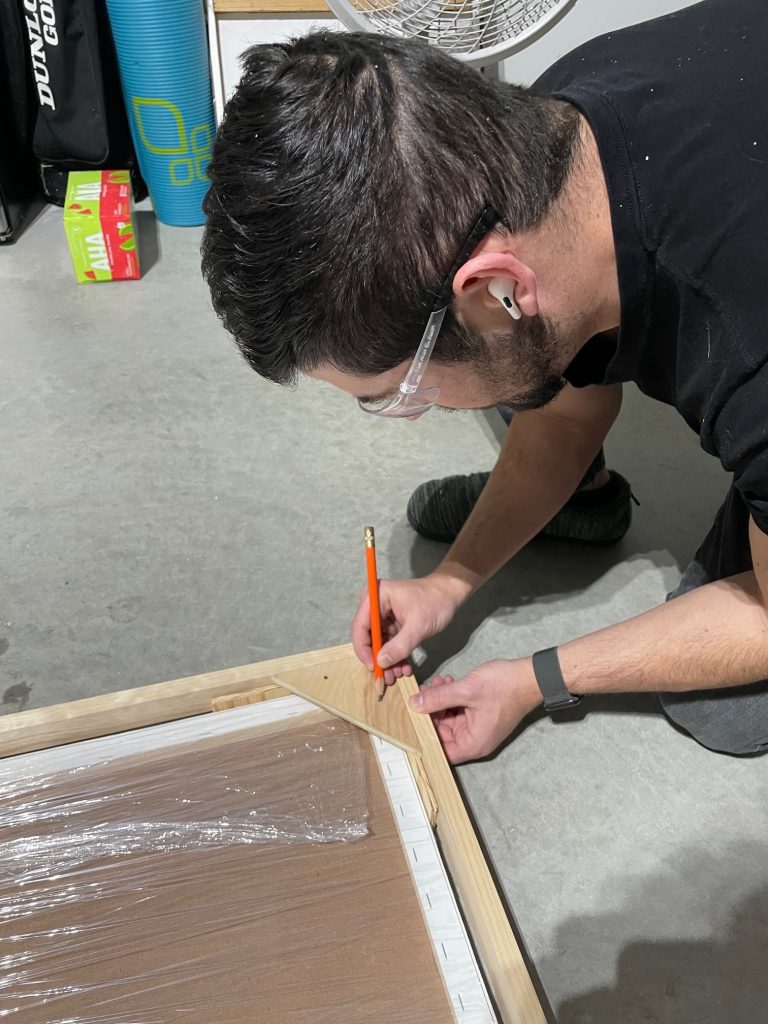
Step 8: Attaching Canvas to Frame
The next step was to mark on the triangles where we wanted to drill screws into the canvas to secure the canvas to the floating frame.
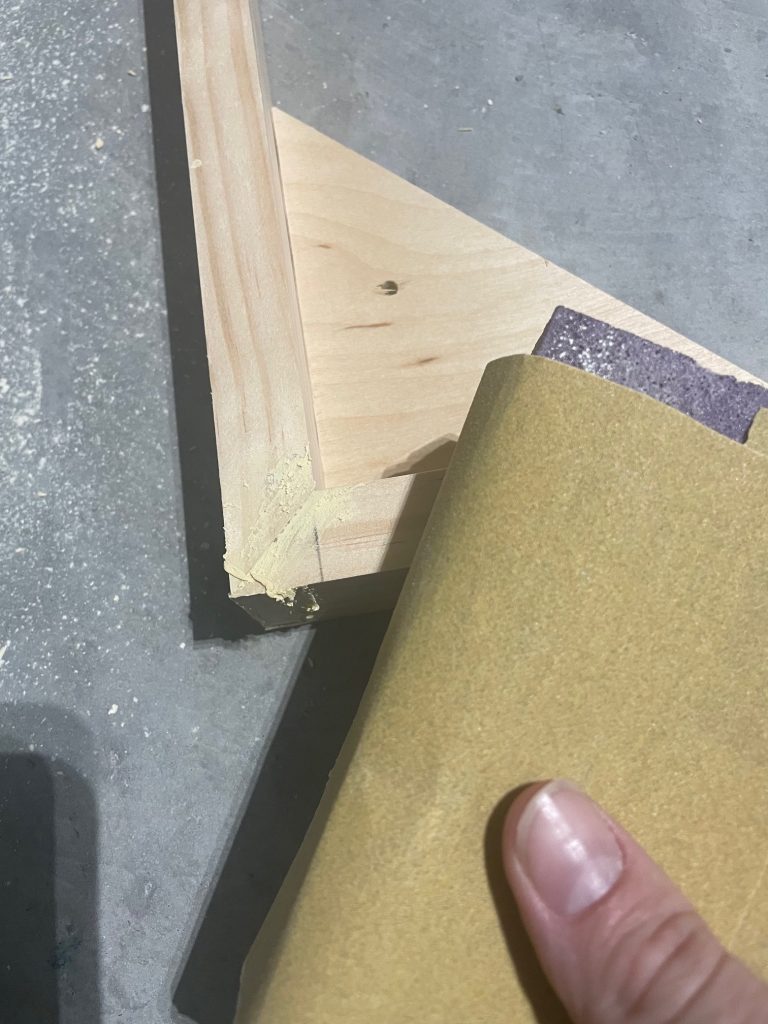
Step 9: Filling in Nail Holes
After this I filled in all of the nail holes with wood fill and once it dried, I sanded off the excess.
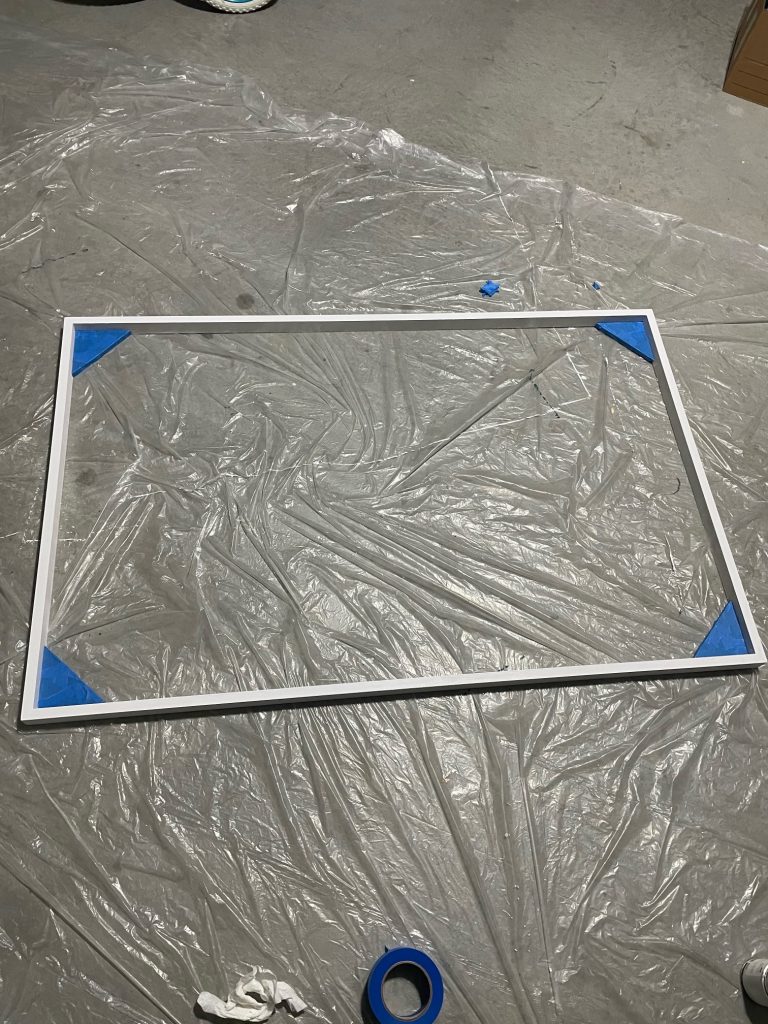
Step 10: Painting the Frame
Next, I primed the frame using some left over Kilz primer that I had from a previous project and a foam roller. I painted the four triangles the same color as my wall so that if any of the wood peeked through the gap it would be camouflaged with the wall.
The next step was to spray paint the frame. This step was tedious as it required some dry time between spraying each side before I could flip it to the next side to be sprayed.
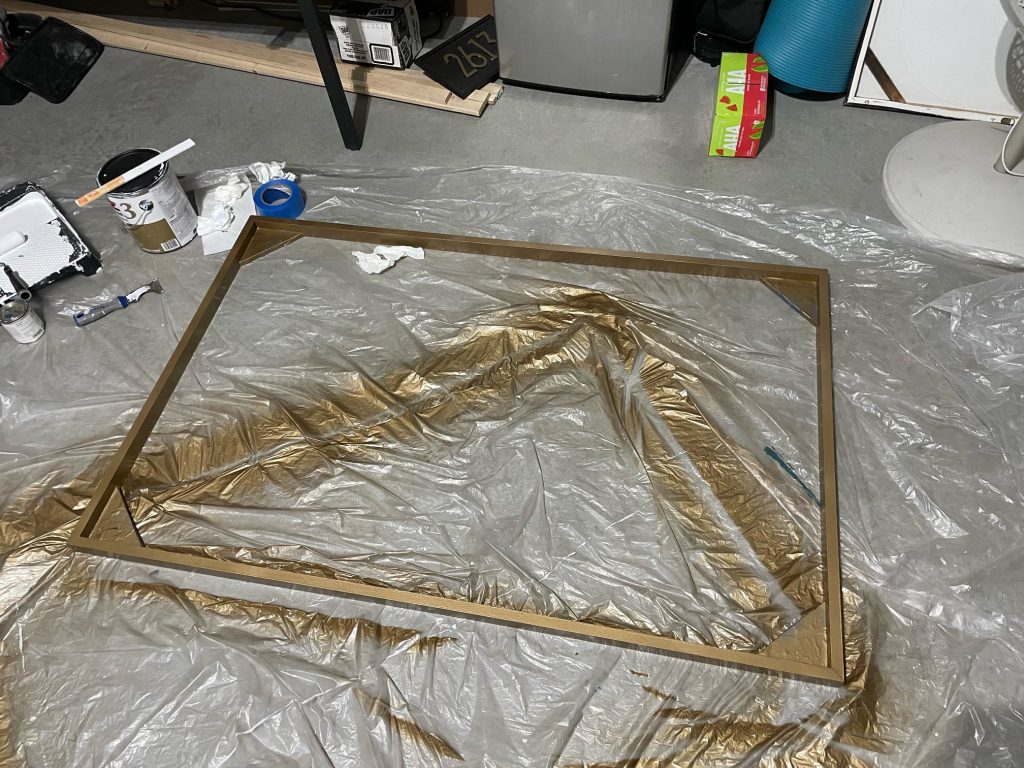
After spray painting the frame I carefully removed the tape on the triangles to reveal the wall color I had used to camouflage the frame.
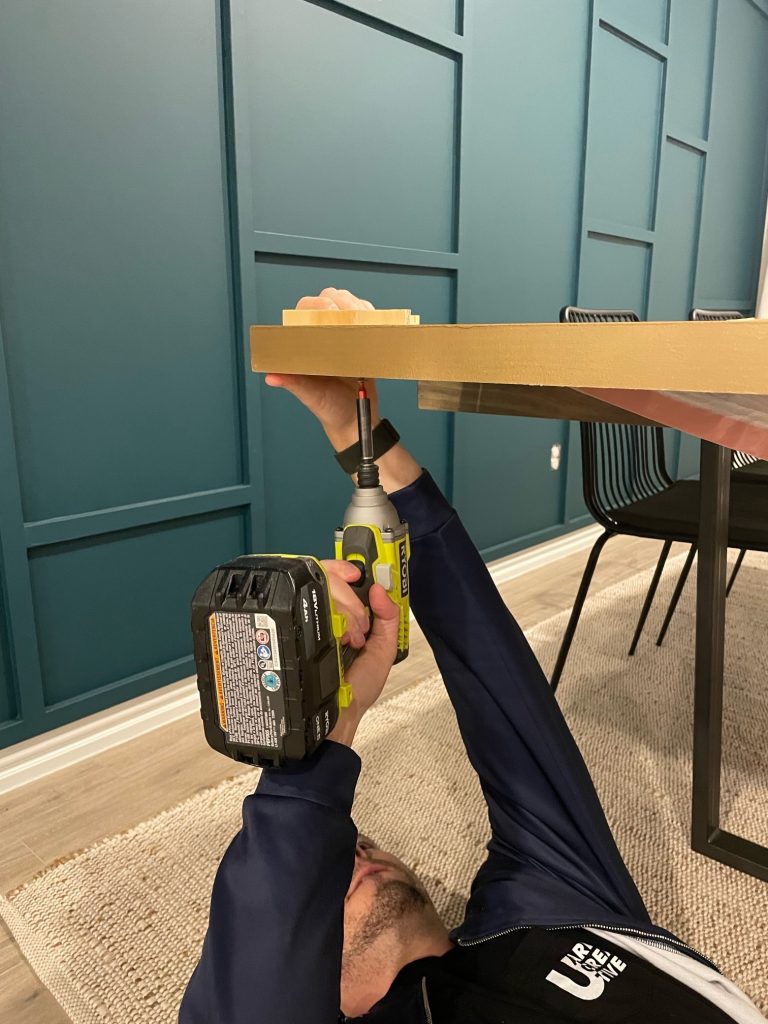
Step 11: Attaching the Canvas to the Floating Frame
Then, we brought the frame inside and placed the canvas securely inside. Using the spacers again to get a consistent and even gap all the way around the canvas we then used a drill and 1″ screws to attach the canvas to the frame.
Step 12: Hanging the Canvas
Finally, we hung our canvas and I must say, I am quite happy with the finished look of our DIY floating frame.